Minecraft skins — thanks to the wonder of the internet (and very talented artists), Minecraft players have never had a lack of looks to choose from. From the OG Minecraft Skindex to the Minecraft Marketplace, we’ve always had a gorgeous wardrobe of millions of outfits. However, there comes a time in every Minecrafter’s life when we wonder how nice it would be to have a custom skin.
Some of us follow that calling and end up becoming expert skin-artists. Some of us take one look at the skin template and close the window immediately, screaming in horror and confusion. For those who belong in the latter group, have no (more) fear! From pixel art to color theory, this guide teaches you all about how to create the perfect look for your Minecraft character.
Do note that this guide goes way in-depth about the nuances of designing a Minecraft skin — and by extension, your own game character. If you’re more of the type of person to jump right in and learn from hands-on experiences, feel free to skip to the “Editing Your Skin” section!
Why Make Your Own Minecraft Skin?
There are tons of reasons to create your own custom Minecraft skin. Maybe none of the ones online have struck your fancy. Maybe you want a very specific design, for roleplay or otherwise — maybe one that looks just like us in real life, or one that looks like your favorite playable character from your latest DnD sessions.
When making your own Minecraft skin, you have complete customizability and creative freedom over how your skin turns out and what it looks like in game. Perhaps you’ve found a skin online that has an outfit and all the colors that you like, but its gender doesn’t match your preferred presentation. Perhaps you found one that looks perfect, except you wish the hoodie was a slightly lighter shade of navy blue.
Getting some practice in creating your very own Minecraft skin will give you the tools not only to fix up any of these shortcomings on publicly available skins, but also to create completely custom, never-before-seen looks to suit your every whim and fancy. And if you’re someone who spends hours on Minecraft every day (sweats), that’s the least you could do for your online experience.
Of course, you’re the one who clicked on this article, so you probably already know this. So without further ado, let’s get into things.
Choosing the Right Tools
There are a ton of tools available, for photo editing, illustration, etc that you could use to create Minecraft skins. Essentially, any software or program that can process and edit images would most likely suffice.
One of the strongest contenders on the list is Adobe Photoshop — one of the best-known image-editing softwares on the market. However, Photoshop is a massive investment, and it might not be one that all of us want to or are able to make. A few free alternatives to Photoshop are GIMP, Krita, PAINT.net and the browser-based Pixlr, which is my go-to in a pinch. The reason MS Paint is not on this list is due to its lack of transparency support, which we’ll get into later.
“Why would I use a third-party program like Photoshop when there are online skin-editors I can use straight in the browser?” You might ask. The reason for this is because these programs offer a ton more functionality in terms of illustration and image processing — for instance, blending capabilities, hue / saturation / luminance adjustments and of course, the boon and bane of all digital artists: layers!
However, while I would certainly recommend using an image-editing software if you’re planning on really getting into Minecraft skin creation, if you’re just playing around, there’s certainly nothing wrong with using one of the online skin editors. The aptly named Minecraft Skin Editor is a strong option, with its noise and saturation selection tool.
Understanding the Skin Template
(Feel free to skip this part if you’re using a Minecraft skin editor that lets you draw on the skin itself!)
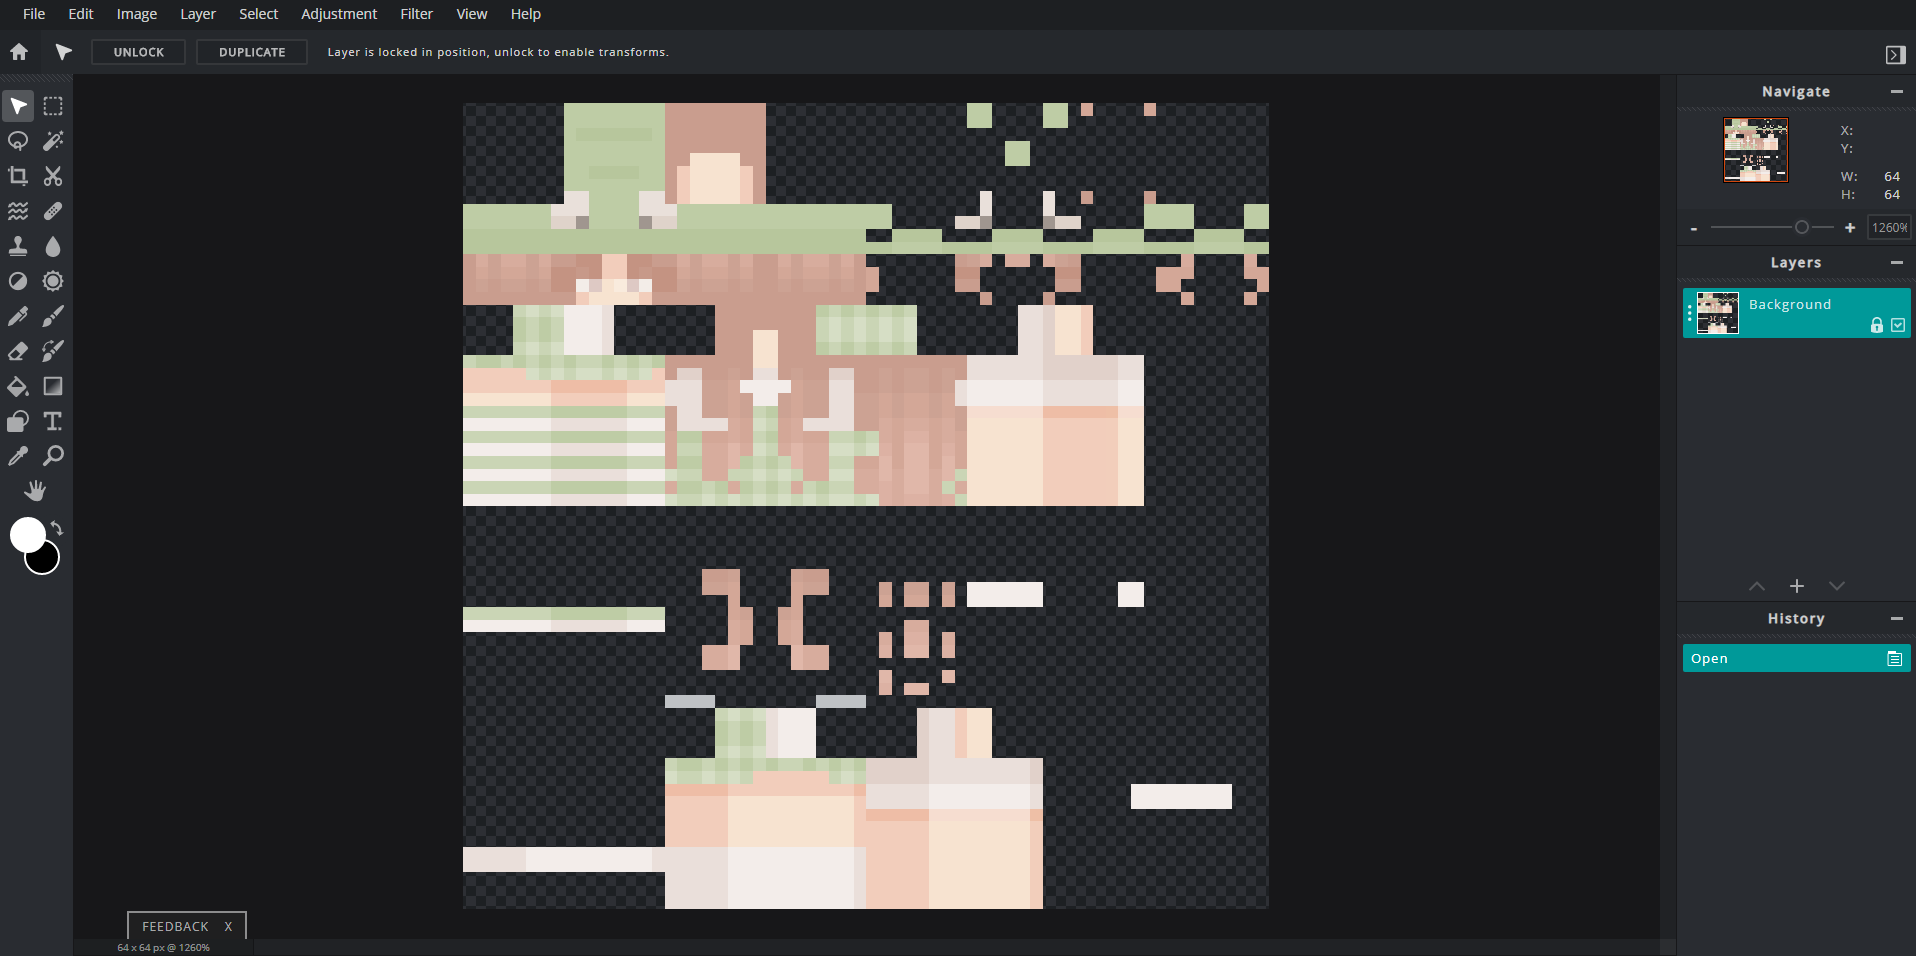
One of the most daunting parts of creating a Minecraft skin is understanding what the skin map / template means. If you’re somehow unfamiliar with the default skin template, it sort of looks like Steve after he’s mined straight up into a gravel patch:

That is, he’s smushed real flat. It might help to imagine it as an unfolded shape net from high school geometry, though if you’re like me and geometry was your least favorite subject, the resemblance might have you groaning. Essentially, think of the skin template as a wrapping paper for your character model.

Each labelled square corresponds to the respective part of the character model. There are multiple skin templates depending on the version and model that you’d like to create a skin for, but we’ll get into that a little more later.
Choosing the Right Colors
As a former Computer Art & Animation student who has sat through hour-long lectures that barely scratched the surface of Color Theory, I can grudgingly admit that there’s no feasible way to teach the entire concept within a single article, no matter how good you are at putting words together. Here is a much better resource for you to read up on, in your own time.
Essentially, in layman’s terms, this is the study of the properties and terminology of colors, as well as which ones go well with each other. For instance, you could know that you want your character to wear a red hoodie. However, which shade of red you choose, how you shade it and complement it with other characters will greatly affect the feel of your character’s appearance.

While bright, saturated colors like the last shade of red were all the storm back in 2014, skins today often take on more muted, pastel colors — which I love! However, ultimately, you’re the one who has to stare at your character (or at least, play Minecraft with the knowledge of what it looks like) for hours on end, so it’s ultimately your choice, no matter what all the cool kids are wearing these days.
Perhaps more importantly than the saturation and hue of your colors is the fact that they blend well together. A character clad in neon red and green might look like an elf and hurt your friends’ eyes; and if your skin already has light hair, putting her in a white shirt and pants might achieve an unintentional ghost-y effect. Achieving color harmony requires complementing your colors with each other and can be incredibly difficult, but also essential to making a nice, balanced outfit for your character. Make sure that your colors aren’t
Regardless of whether you’re going to put tons of thought into your Minecraft skin, Color Theory, especially in the context of digital art, is a fantastic concept to know for any sort of design work — and in this day and age, that’s everything from your resume to the report your boss wants in her email by the next morning.
Choosing Your New Look
Now that you know what colors you want your clothes to look like, it’s time to pick them out. It’s easy to fall into the status quo of hoodies and jeans that’s always been the standard for Minecraft skins — and teens in general — but there are tons of outfits out there and you can fit a surprising amount of detail into the small area of pixels on the skin template.
As with just about anything, Google is a fantastic resource for creative expression. Perhaps you want a stunningly intricate fantasy look to fit the RPG map you’ve been eyeing in the marketplace, or a chic, trendy outfit so you can demolish some Hypixel minigames in style. You can find tons of great looks on various platforms just by searching some keywords, and you might even find something great enough to add to your real life wardrobe. Plus, it’ll give you a starting platform to start deciding on colors, in case you saw the words “Color Theory” in the previous section and immediately skipped ahead.
Matching clothes and coming up with a whole new outfit isn’t for everyone, however — personally, I can barely do it in real-life in the mall. So for your reference, here are some of the common, but good-looking, outfits that we picked out from public skin databases. There will be more of these, plus a reference section below, so skip ahead if you’re just here for some ideas!

However, it’s also important to remember that you can only fit so much into the limited space of the skin template — namely 4,096 pixels. This means you might need to cherry-pick the details to avoid overcrowding your new look and making it look messy. Why not take a look in our Minecraft Build Shop for more inspiration.
Choosing Your New Face
If you thought the skin template was small, its designated section for the “face” bit of the Minecraft skin is — believe it or not — even smaller. However, that hasn’t stopped particularly creative folks from creating a variety of expressions and face styles on them. Here are a few:

The OG standard since 2012 — very simple 2×2 squares with 2×1 pupils of any color. A good technique is to darken the two top pixels, giving it a shadow effect.

Adding eyelashes to the top of the aforementioned eyes gives it a more elegant flare. Be sure not to blend it in with the hair color, although they should be similar.

This face style gives your character model a more heavily-lidded expression, whether you want your character to look more serious, bored, proud, sleepy or sad — or a fascinating and/or miserable combination of all of the above.

Completely closed lids add a cutesy charm to your character, and save you from the age-old video game dilemma of what to choose as your eye color.

And of course, if cute is what you’re going for, the chibi look removes the eye whites and reduces your eyes to two far-apart dots to create a face so adorable that you could just eat it up.
Editing Your Skin
So, now you should have a good idea of what your character looks like. Armed with all this knowledge, you can finally start editing your own skin. Or, if you couldn’t care less about the design process and clicked the link in the introduction that brought you straight down here, welcome to the guide!
The first thing you’ll want to do is download the skin template, you can choose between Steve and Alex character models, the latter being slimmer.
Load it into your image editing tool of choice, and familiarize yourself with the regions. There are various labelled charts that may help you — although it’s just that, a labelled chart, and NOT a template that you should be loading into your image editing software. Don’t forget to take a look around our Minecraft Market place page for some great examples of the Team Visionary workmanship.
You’ll notice that aside from the main body surface areas (head, body, arms, legs), there’s another set (hat, jacket, sleeves, pants), This is because there are two layers to your Minecraft skin (at least, past 1.8), that allow you to choose an inner and outer cover. This creates a layered effect, which can be used, for instance, to make sleeves, masks, hoods, more detailed hair and bangs, and overall layered clothing. This is clearly visible in this example skin:

In this case, the hair, bangs, hood, jeans and even fuzz on the jacket are created using the outer layer of the Minecraft skin, giving it a lovely detailed and 3D textured effect.
Other than this, there’s really not much more to it! Load up your template into the image editor of your choice, and get cracking on your brand spanking’ new look!
As a final note, you’ll need to make sure to save the final image as a .png, by the way— and for this reason, you shouldn’t use MS Paint, since it doesn’t have transparency support. This is so that your
Examples of Good Skins
Of course, as any artist will tell you, references are vital when creating art — and making a Minecraft skin, is, of course, as much of a piece of art as anything else. As such, we highly recommend looking up styles that you’d like to implement in your own new Minecraft skin.
Here are some tips, tricks and especially good skins that we’d like to showcase.

Compare these two skins. As aforementioned, we highly recommend utilizing the secondary layer to create a 3D textured effect for your skins. In the first skin here, the hair and hood, as well as the trim of the jacket and certain parts of the sleeve are drawn on the secondary outer layer, giving the skin a much more nuanced look than the one on the right, which does utilize some layers but not quite as much.
You can also use this layer to create lovely hair accessories, flower crowns, or even masks and horns, if that’s your thing.

If you’re on the hunt for the perfect outfit to bring into a fantasy-themed server such as Wynncraft, there are also lots of options! Blending your colors and creating some noise creates fantastically intricate fantasy outfits, no matter what class and weapon of choice you’re bringing into the battlefield.

If looking human is too mainstream for you, there are also tons of trippy, very cool effects you can create using the layers and a good choice of colors.

Challenges and Practice
Drawing blanks? Need some ideas on what sort of skin to create? Want to make your own skin but have the fashion sense of a rotten potato? Here are a few character outfit generator names that can give you some ideas. Check out out Minecraft Portfolio page, showcasing some of the best productions from Team Visionary.
Random Outfit Generator
Random Style Generator
Random Mask Generator
Random Hat Generator
Random Steampunk Outfit Generator
Random Witch/Wizard Outfit Generator
Random Superhero Costume Generator
Random Sailor Outfit Generator
Random Suit Generator
Visual Random Outfit Generator
Conclusion
Thanks for the read! While making your own Minecraft skin can seem like a daunting task, it’s so, so rewarding to exercise absolute control over how you look and dress in Minecraft, especially as very few games give you the opportunity to freely (and for free) change your in-game appearance however you like.
We hope that this gave you not only on the technical how-to on Minecraft skin creation, but also some insight on how to create a good looking one that you’re happy with.
Don’t forget our Blog posts are also available to listen to on our dedicated Podcast below: